
How to Make Cold Foam for Coffee: A Quick and Easy Guide
Many coffee drinkers ask the question “How to make cold foam for coffee?”. Making cold foam for coffee is an easy and fun way to add a creamy and frothy element to your iced coffee beverages. With a few simple ingredients and tools, you can create a delicious and refreshing beverage that rivals any coffee shop creation. In this article, Aspect Coffee Works will share my favorite methods for preparing cold foam at home, including tips and tricks to achieve the perfect texture and flavor.
Contents
- 1 Understanding Cold Foam
- 2 Essential Ingredients for Cold Foam Recipe
- 3 Equipment Needed
- 4 How to Make Cold Foam for Coffee (DIY Starbucks Cold Foam Recipe)
- 5 Serving Suggestions
- 6 How to make Starbucks Vanilla Sweet Cream Cold Foam
- 7 Common Mistakes to Avoid for Coffee Recipes
- 8 Cleaning and Maintenance of Equipment
- 9 Conclusion
Understanding Cold Foam
As a coffee lover, I am always looking for new ways to enjoy my favorite beverage. One of the latest trends in the coffee world is cold foam. If you’re not familiar with it, cold foam is a creamy, frothy topping that is often added to chilled coffee drinks. It’s a delicious way to add some texture and flavor to your coffee, and it’s surprisingly easy to learn how to make cold foam at home.
So, what is cold foam exactly? Cold foam is made by blending refrigerated milk or cream with a sweetener and flavorings like vanilla or caramel. The mixture is then whipped until it becomes frothy and aerated, creating a light and creamy foam that can be spooned on top of your favorite coffee brews.
There are a few different methods for whipping up cold foam, but the most common is to use a handheld mixer. Simply combine your milk or cream with your desired flavorings and sweeteners, and then use the mixer to whip everything together until it becomes frothy and aerated. You can also use a milk frother or a blender to create cold foam, but a handheld mixer is the most convenient option for most people.
One thing to keep in mind when frothing cool milk is that the type of milk or cream you use can affect the texture and flavor of your foam. Full milk and heavy cream will create a richer, creamier foam, while fat-free milk will create a lighter, fluffier foam. You can also experiment with different sweeteners and flavorings to create your own unique cold foam creations.
Essential Ingredients for Cold Foam Recipe
If you want to create cold foam for coffee, you need to have the right ingredients. Here are the essential ingredients that you will need for basic methods for preparing cold foam:
Type of Milk
The type of milk you use for your cold foam procedure is important. Unhomogenized milk is the traditional choice, but you can also use skim milk or non-dairy milk alternatives like almond milk or oat milk. Nonfat milk is a good option if you want to keep the calories and fat content low. However, keep in mind that the fat content in whole milk helps to create the small bubbles that give the foam its light and airy texture. So, if you want to achieve the best microfoam texture for latte art, whole-cream milk is the way to go.
Sweeteners
Cold foam can be made with or without sweeteners. If you prefer your coffee sweet, you can add sugar, maple syrup, honey, or any other sweetener of your choice. You can also use flavored syrups like vanilla, hazelnut, or caramel to add a touch of sweetness and flavor to your cold foam. If you want to keep your cold foam process healthy, you can use natural sweeteners like stevia or monk fruit extract.
When it comes to making cold foam for coffee, these are the essential ingredients that you need to have. You can experiment with different types of milk and sweeteners to find the recipe that works best for you.
Equipment Needed
When it comes to making cold foam for coffee, you don’t need a lot of fancy equipment. Here are the two essential tools you will need:
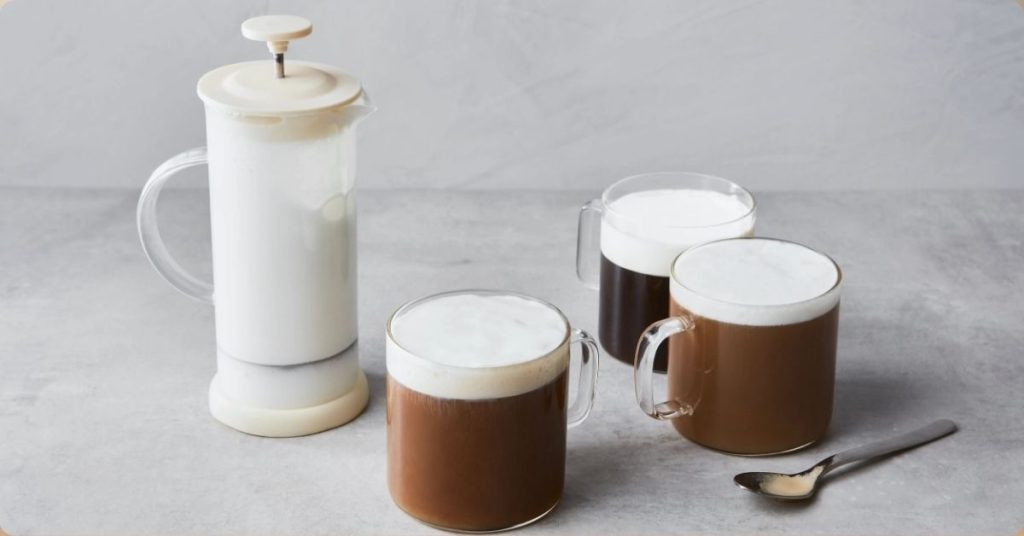
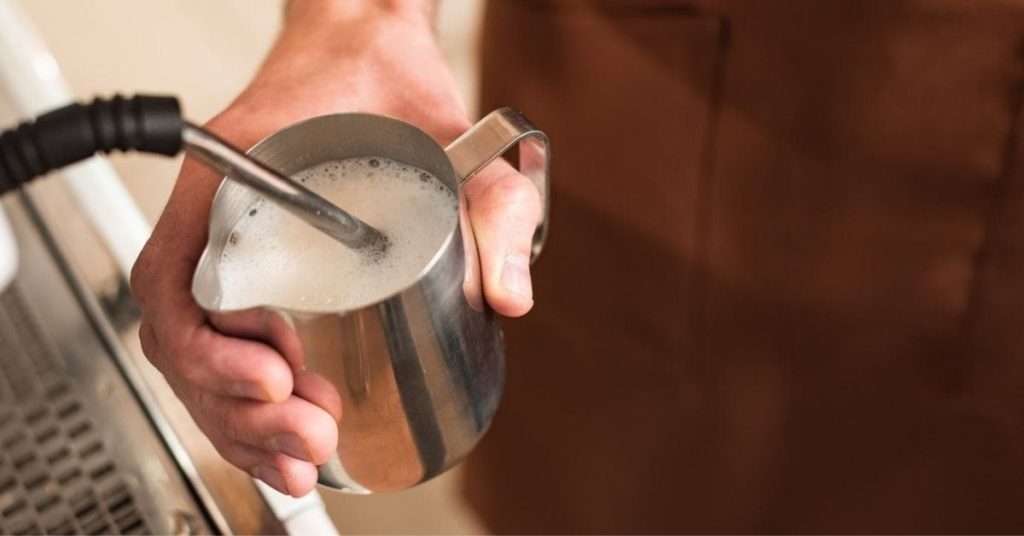
Froth milk
A milk frother is a handheld device that is used to froth milk. It’s the easiest and most economical way to aerate cold milk for coffee. You can find them online and in stores for a reasonable price. Simply pour chilled milk into a mixing bowl, insert the frother, and turn it on. Move the frother around in the milk until it becomes frothy and thick.
Mixing Bowl
A mixing bowl is another essential tool for whipping up cold foam for coffee. You’ll need a bowl to hold the milk while you use the milk frother. A metal mixing bowl is ideal because it will help keep the milk cold while you’re frothing it. You can also use a glass or plastic mixing bowl, but make sure it’s sturdy enough to withstand the vibration of the milk frother.
That’s it! With just a milk frother and a mixing bowl, you can make delicious cold foam for your coffee at home.
How to Make Cold Foam for Coffee (DIY Starbucks Cold Foam Recipe)
Preparing cold foam for coffee is a simple process that can be done easily at home with a few simple ingredients. Here’s a step-by-step guide to creating cold foam using the DIY cold foam formula of Starbucks.
Chilling the Milk
The first step in frothing cold milk is to chill the milk. It’s important to use fat-free milk or very low-fat milk to whip cold foam if you want a thick, solid, and long-lasting layer. The best milk is nonfat milk. I prefer to use a glass jar with a lid to chill the milk. Here are the steps:
- Pour the milk into a glass jar with a lid.
- Close the lid tightly and shake the jar vigorously for about 30 seconds.
- Place the jar in the refrigerator for about 30 minutes to chill the milk.
Whisking the Milk
Once the milk is chilled, the next step is to whisk it to create the foam. Here’s how to do it:
- Pour the chilled milk into a mixing bowl.
- Use an electric whisk or a frother to whisk the milk for about 2-3 minutes until it becomes frothy and thick.
- Stop whisking when the foam has reached the desired thickness.
Adding Sweeteners
The final step in creating cold foam is to add sweeteners to the foam. Here are a few sweeteners that you can use:
- Vanilla syrup
- Caramel syrup
- Honey
- Maple syrup
- Agave nectar
Add the sweetener of your choice to the foam and whisk it again for a few seconds to combine the sweetener with the foam. Then pour the cold foam on top of your iced coffee or cold brew.
That’s it! You’ve successfully whipped up cold foam using the DIY Starbucks cold foam formula. Now you can use it to top your favorite cold coffee drinks like chilled coffee, cold brew, and iced cappuccinos.
Serving Suggestions

If you’re wondering how to use your freshly cold foam, here are a few serving suggestions to get you started.
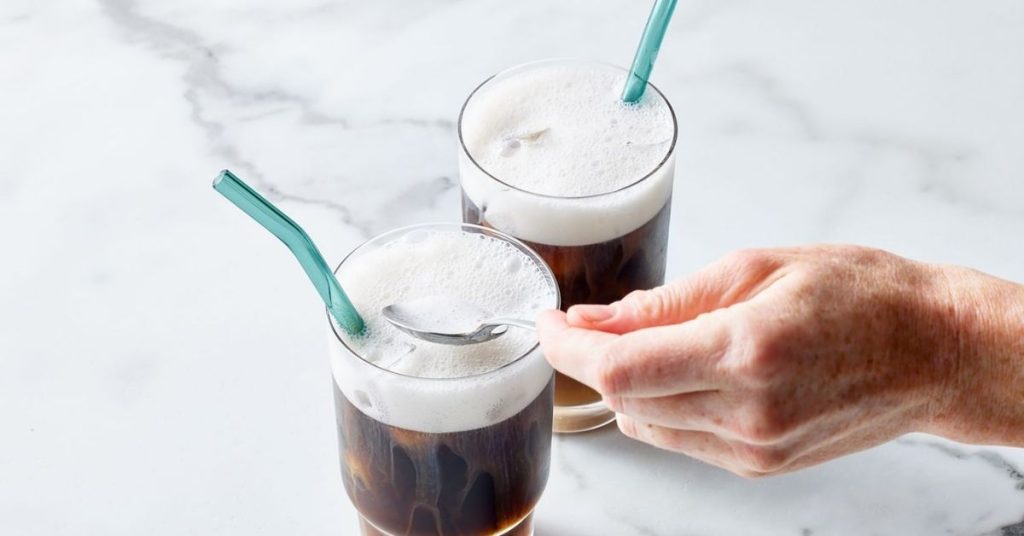
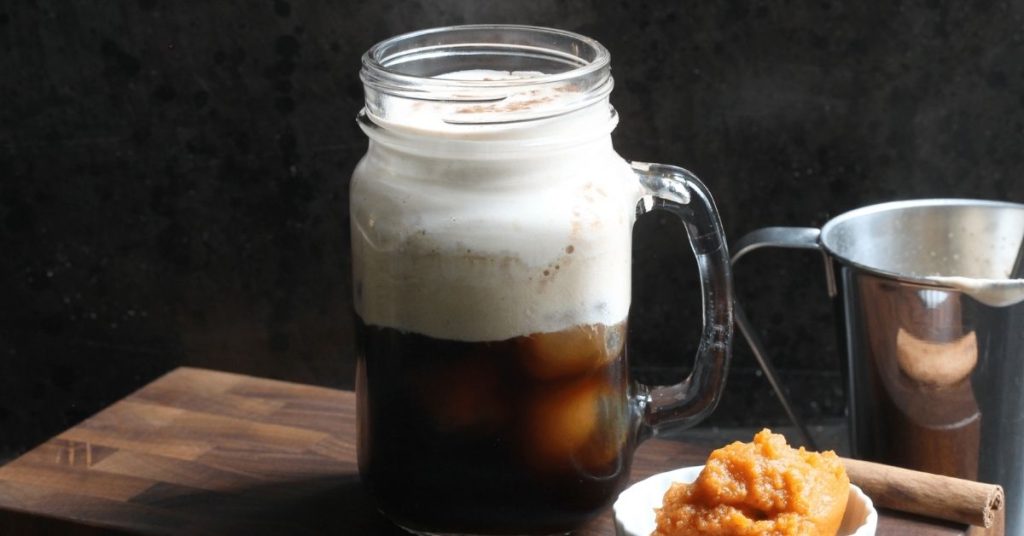
Cold Brew Coffee
One of the most popular ways to use cold foam is with cold brew coffee or iced coffee. Simply pour your cold brew coffee over ice and top it with a generous dollop of cold foam. The foam will slowly melt into the coffee, creating a cream-cold brew that’s perfect for a hot summer day.
Iced Latte
If you’re a fan of cold lattes, you’ll love the addition of cold foam. To make an chilled latte with cold foam, simply mix espresso shots with cool milk and simple syrup and pour it over ice. Top it with a thick layer of cold foam and enjoy the creamy and frothy texture.
The best milk For Cold Foam
When it comes to preparing cold foam, not all milks are created equal. While any milk can be used, some work better than others. Using heavy cream or whole milk is the most popular choice for whipping up cold foam, as it has a higher fat content that creates a richer and creamier foam. However, if you’re looking for a healthier option, you can use skim or almond milk instead. Just keep in mind that the foam may not be as thick or creamy and fluffy foam will suit best for your iced beverages.
How to make Starbucks Vanilla Sweet Cream Cold Foam
If you’re a fan of Starbucks’ Vanilla Sweet Cream Cold Foam, you’ll be happy because here’s how to make cold foam at home!
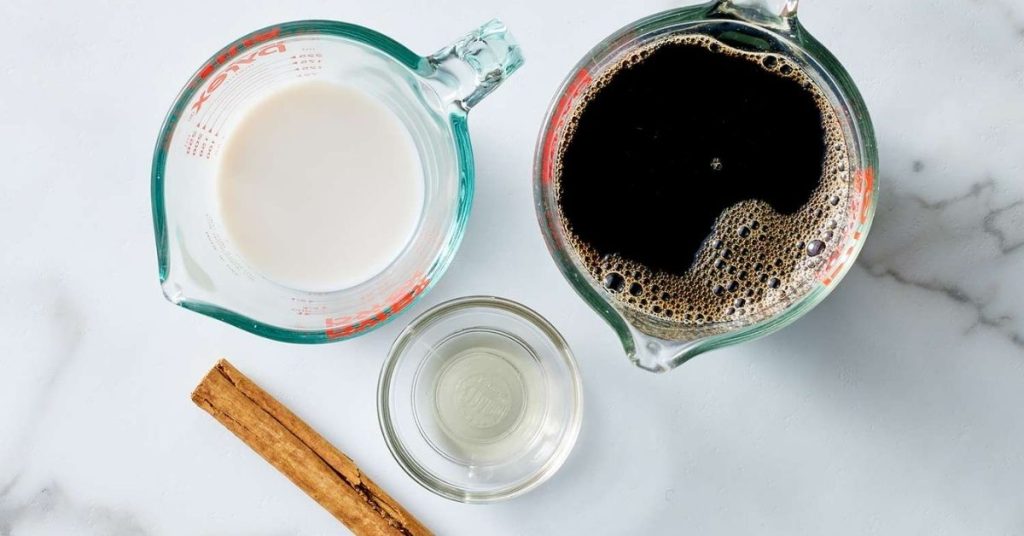
Ingredients
- 2 tablespoons vanilla syrup
- 3 tablespoons heavy cream
- 2 tablespoons milk (2% reduced-fat milk is recommended)
- Ice
Instructions
- Combine the vanilla syrup, cream, and milk in a small mason jar.
- Shake the jar vigorously until the mixture becomes smooth and frothy.
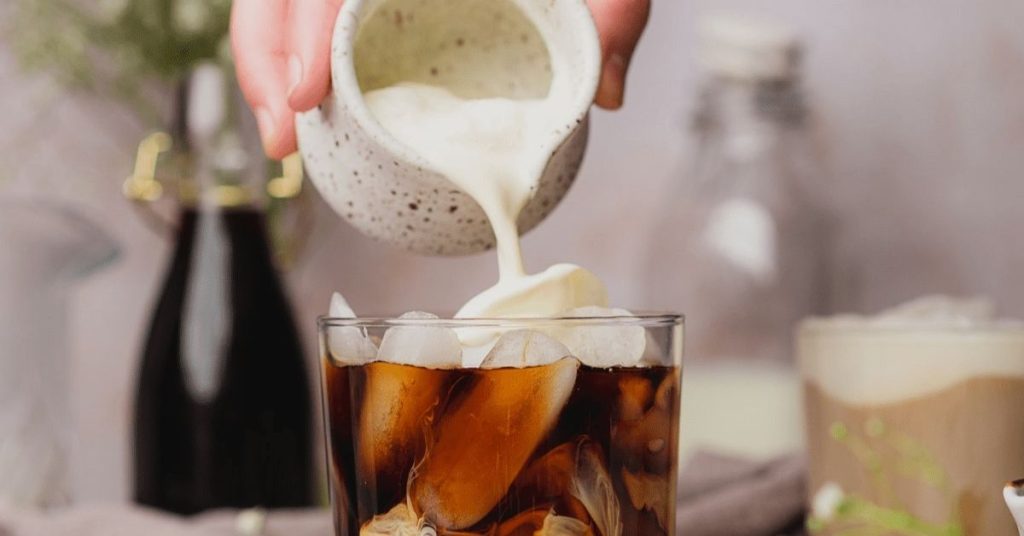
- Fill a glass with ice and pour your desired amount of cold brew or chilled coffee over the ice.
- Slowly pour the vanilla cream cold foam over the top of the coffee.
- Enjoy!
It’s that simple! You can adjust the amount of coffee topping to suit your taste preferences. If you prefer a sweeter foam, add more vanilla syrup. If you prefer a lighter foam, use less heavy cream.
Making your cold foam at home can save you money and allow you to customize your coffee just the way you like it. Give it a try and see how easy and delicious it can be!
Common Mistakes to Avoid for Coffee Recipes

Using Wrong Milk
One common mistake when aerating frosty milk for coffee is using the wrong type of milk. Heavy milk or cream is not recommended as it can result in a heavy and overly rich foam. Instead, it is recommended to use skim milk or a non-dairy alternative such as almond or oat milk. These types of milk have a lower fat content compared to whole milk, which allows for a lighter and fluffier foam.
Over Whisking
Another mistake to avoid when creating cold foam is over-whisking. While it may be tempting to continue whisking until the foam becomes stiff, this can result in a grainy and clumpy texture. It is recommended to whisk the milk until it reaches a smooth and velvety texture, which usually takes around 30-60 seconds.
To avoid over-whisking, it is important to pay attention to the texture of the milk as you whisk it. Once it starts to become frothy, slow down the whisking and pay close attention to the texture. Stop whisking once it reaches the desired texture and consistency.
By avoiding these common mistakes, you can ensure that your cold foam for iced drinks is light, fluffy, and velvety smooth.
Cleaning and Maintenance of Equipment
As with any equipment, proper cleaning and maintenance are essential to ensure optimal performance and longevity. This is especially true for sweet cream cold foam equipment. Here are some tips to help you keep your tools in pristine condition:
- Clean regularly – It is essential to follow a diligent cleaning routine to keep your equipment in good condition. After each use, rinse all parts with water and wipe them down with a clean cloth. At the end of the day, disassemble the equipment and clean all parts with a mild detergent and warm water. Rinse thoroughly and dry completely before reassembling.
- Check for wear and tear – Regularly inspect your equipment for signs of wear and tear. Replace any damaged or worn parts immediately to prevent further damage to the equipment.
- Store properly – Store your equipment in a clean, dry place when not in use. Avoid storing it in damp or humid areas, as this can lead to rust and other damage.
- Use the right cleaning products – Always use the recommended cleaning products for your equipment. Using the wrong products can damage the equipment and void the warranty.
- Follow manufacturer’s instructions – Always follow the manufacturer’s instructions for cleaning and maintenance. This will help ensure that your equipment stays in good condition and performs optimally.
By following these tips, you can ensure that your sweet cream cold foam equipment stays in good condition and performs optimally.
Conclusion
In conclusion, preparing cold foam for coffee is a simple and easy process that can elevate your coffee game to new heights. With the right ingredients and tools, you can create a creamy, smooth, and slightly sweet foam that is perfect for any refreshing iced coffee drink.
To prepare cold foam, you can use a handheld mixer, a French press, or a blender. Each method has its advantages and disadvantages, so choose the one that works best for you. If you prefer a sweeter foam, you can add sugar, honey, or flavored syrups to your milk before frothing it.
When it comes to milk, whole milk, skim milk, and non-dairy milk all work well for whipping cold foam. However, it’s important to use chilled milk that has been refrigerated for at least a few hours before frothing it. This will help the foam to hold its shape and texture.
Overall, making cold foam for coffee is a fun and creative way to experiment with different flavors and textures in your coffee. So why not give it a try, adding cold foam to the top of your coffee, and see how it can enhance your coffee-drinking experience?